

Finally ready to take the plunge and start collecting NFTs? Unless you’re staying on a platform like Nifty Gateway, you’re likely going to need to setup a Wallet. For this tutorial we’re going to make a few assumptions. First, you’re using coinbase (or a similar platform) to buy your crypto currency. Second, you are comfortable adding plugins to chrome or firefox.
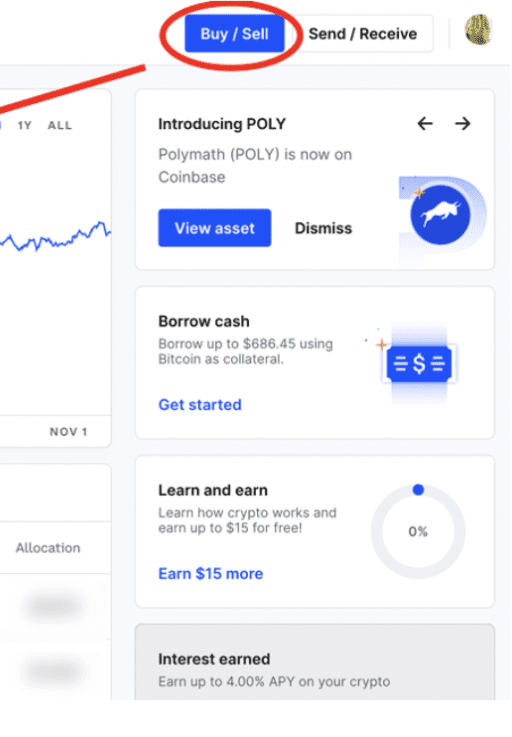
This guide will provide step by step instructions on how to Buy Ethereum on Coinbase, Transfer that Ethereum to Metamask, and connect your metmask to OpenSea (or a web3 app to mint) and Buy the NFTs.

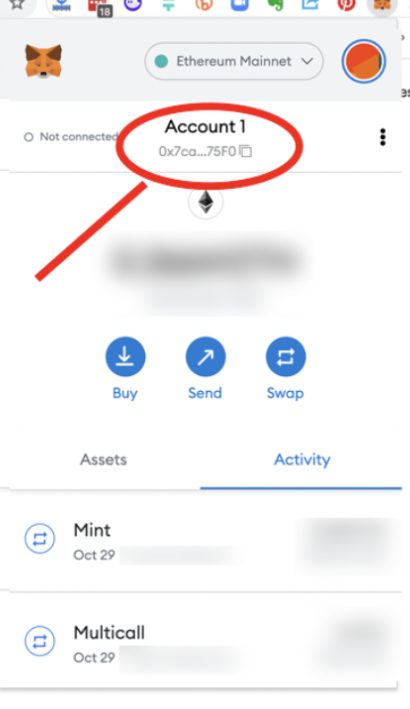
Metamask is currently the most popular wallet choice for many NFT Collectors, there are advantages and disadvantages to this. Metamask is considered a hot wallet meaning it connects and interacts directly with web3 contracts. This does pose some risk. The most important things you can do are protect your seed phrase and password at all times. If a nefarious actor gains access to your seed phrase, they can steal your NFTs and currency.
Additionally, with metamask you can buy Ethereum with a debit card or Apple pay by clicking add funds after it is installed.

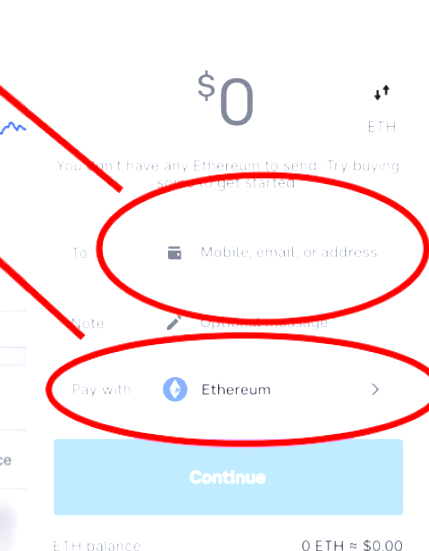

Once you put everything in, you will be able to press continue. It will take a few minutes, but the Eth will appear in your metamask wallet.